In this article, we’ll explore the development and testing of a dockerised .Net 7 app on Windows 11 HOME
Installing Kubernetes
The docker engine will be run in WSL2, which can be activated in Windows Features by checking Windows Subsystem for Linux
Once installed, check that WSL2 is running by typing WSL -l -v in a cmd console, which will list subsystem instances currently running
Alternatively, type WSL which brings up a bash shell
Then install Docker Desktop and activate Kubernetes in the settings once Docker Desktop is up. This will spin up K8s in the docker engine running on WSL2, a technology referred to as KinD
From here on:
Running WSL -l -v in a cmd console should show Docker Desktop in a running state
Running docker container ls --all brings up a list of containers running K8s components
Running kubectl get services --all-namespaces at this stage shows the default K8s services launched by KinD
Running kubectl get pods --all-namespaces at this stage displays the K8s pods launched by KinD. Any custom containers will also be displayed using this command, once we have the custom minimal api running in the following steps.
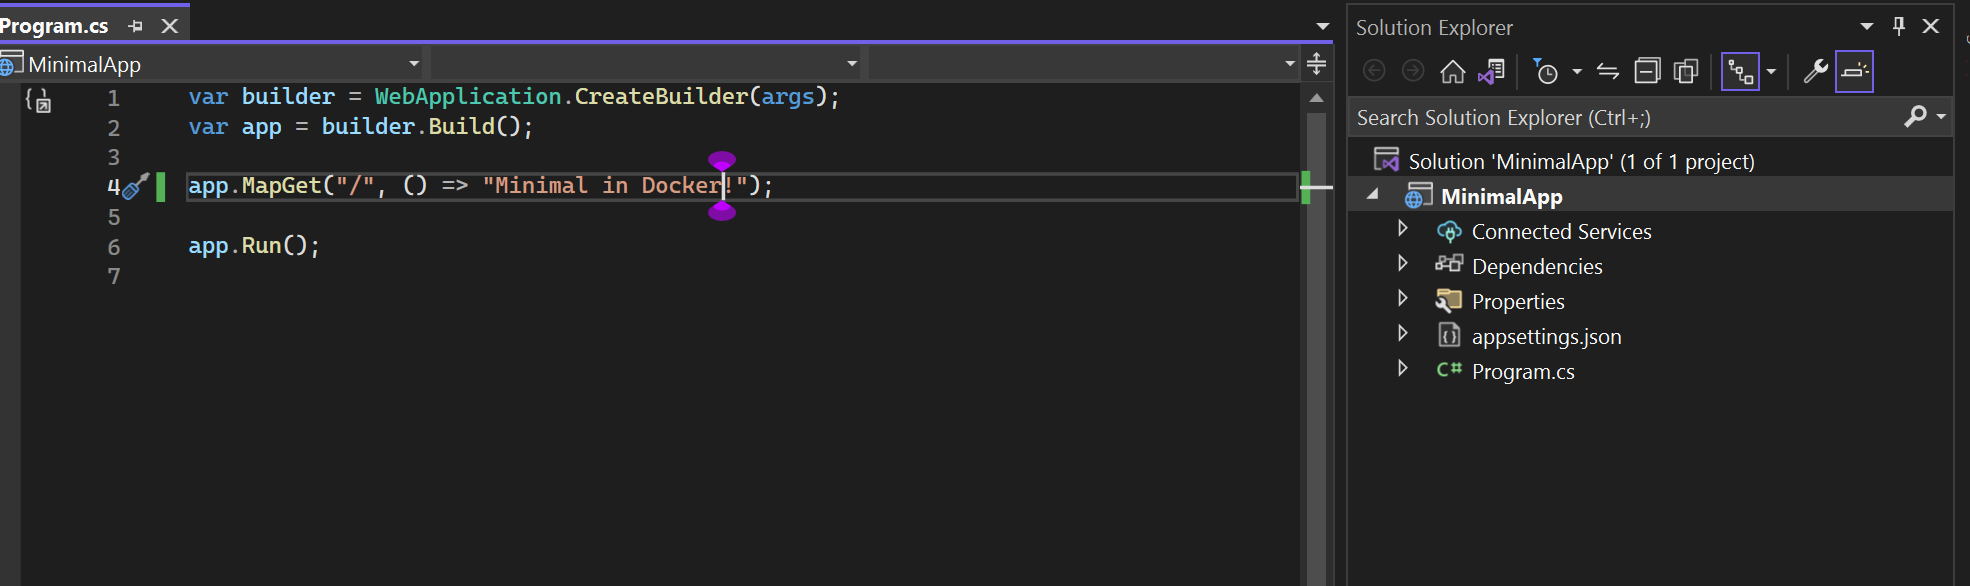
Creating a .Net 7 Minimal API
In Visual Studio, 2022 as of now, create an ASP.NET application using the ASP.NET Core empty template
Select framework .NET 7 and use the top level statements - there is a checkbox to uncheck